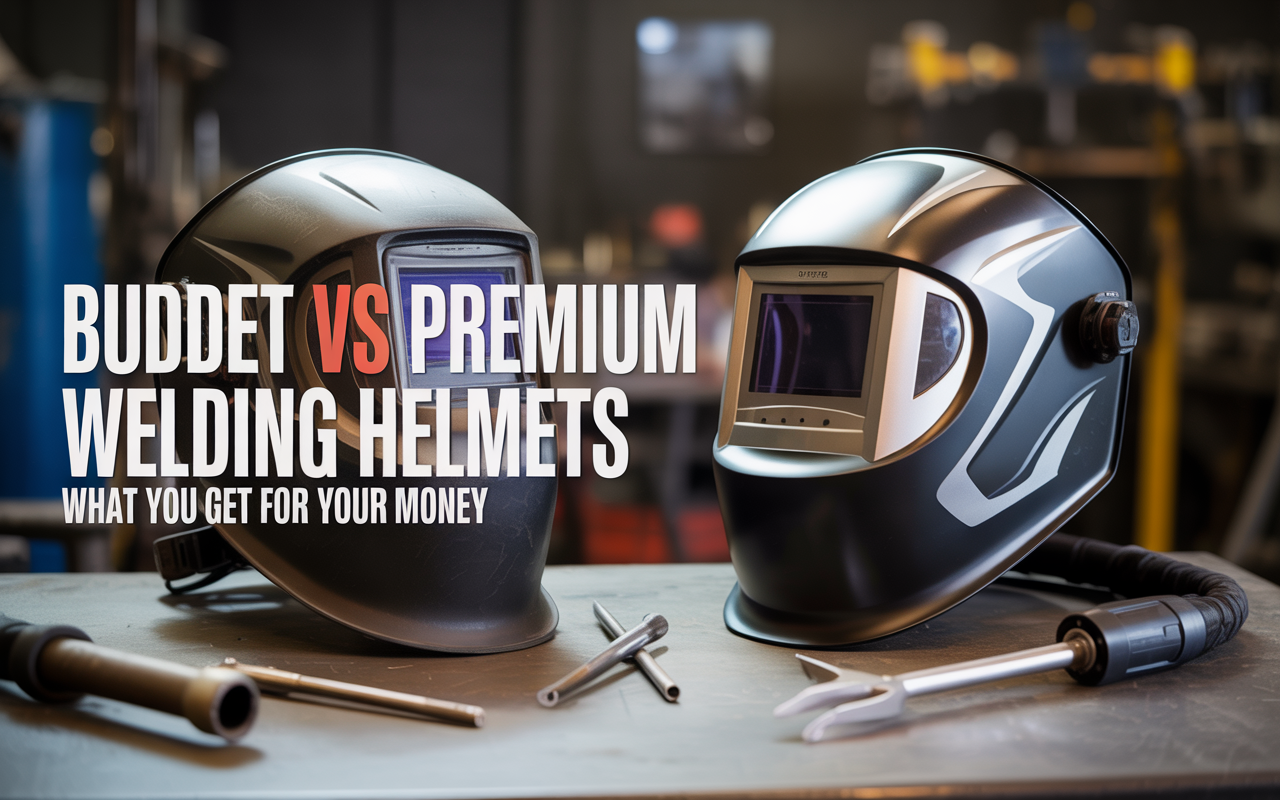
Budget vs Premium Welding Helmets: What You Get For Your Money
Last Updated: November 26, 2025 by Louis Sham
Choosing the right welding helmet balances safety, performance, and budget. This guide helps you understand which features matter most for your specific needs so you invest wisely.
Core Technologies Explained
Passive vs. Auto-Darkening Helmets
Passive helmets use a fixed-shade lens (#10 or darker) that never changes. You must flip the helmet up to see your work between welds, then flip it down before striking an arc—a process that slows workflow and increases the risk of arc flash if you’re late dropping the helmet.
Auto-darkening (AD) helmets contain liquid crystal cells that instantly darken when sensors detect an arc. Benefits include:
- Continuous protection without flipping
- Better positioning before striking the arc
- Safer transitions between welding and setup
- Reduced neck strain from constant helmet movement
AD helmets cost more initially but often justify the premium through improved safety and productivity.
Understanding Lens Specifications
Shade range: The darkness levels available. Budget lenses typically offer fixed or narrow ranges (e.g., shade 9-13), while premium lenses provide wider ranges (shade 5-13 or broader) to accommodate different processes and amperages.
Optical clarity ratings: Measured by:
- Optical class (1-3, with 1 being clearest)
- Light diffusion (1-3, with 1 having minimal scatter)
- Variation in luminous transmittance (1-3, with 1 being most uniform)
- Angular dependence (1-3, with 1 having least distortion)
Premium lenses achieve 1/1/1/1 ratings. Budget lenses may be 2/2/2/2 or lower, resulting in less detail visibility and more eye fatigue.
Reaction time: How quickly the lens darkens after arc ignition. Premium helmets react in 0.03-0.1 milliseconds; budget models range from 0.1-0.5 ms. While all are safe, faster times provide superior protection during unstable arcs.
Recovery time: How quickly the lens lightens after the arc stops. Slower recovery (over 0.5 seconds) can obscure cooling weld puddles; faster recovery aids inspection.
Need Help Finding a Product?: Enter product (e.g., welding helmet, not welding helmets)
Arc Sensors
Budget helmets: 2 sensors, prone to false triggers or missed detection in awkward positions
Mid-range helmets: 3 sensors for better coverage
Premium helmets: 4+ sensors with intelligent algorithms that distinguish welding arcs from grinding sparks, sunlight, or other bright sources
Viewing Area
Measured in square inches, viewing area directly affects:
- How much of your workpiece you see without moving your head
- Neck and back fatigue during long sessions
- Spatial awareness in tight spaces
Budget: 6-8 sq. in. (adequate for basic work) Mid-range: 9-11 sq. in. (comfortable for most applications) Premium: 12+ sq. in. (panoramic views for complex assemblies)
Power Systems
Solar-only: Relies on ambient light and arc light to charge. Can fail in dim conditions or after extended storage.
Solar with replaceable battery backup: Most common. Typical lifespan is 3-5 years of regular use.
Solar with rechargeable battery: Premium option. No battery replacement needed for years, but requires periodic recharging.
Replaceable battery only: Simpler but requires more frequent battery changes in high-use environments.
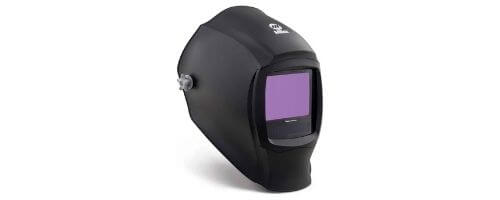
Budget Helmets ($30-$150)
What You Get
- Essential ANSI Z87.1+ or EN379 protection
- Basic auto-darkening with 2 sensors (or passive lens)
- Fixed or narrow shade range (typically 9-13)
- Smaller viewing area (6-8 sq. in.)
- Reaction time 0.1-0.5 ms
- Simple headgear with basic adjustments
- Lighter warranty coverage (90 days to 1 year)
Best For
- Occasional DIY projects and home repairs
- Learning basic welding techniques
- Backup helmet for professional shops
- Stick welding on mild steel
- Users who weld less than 5 hours per month
Limitations
- Limited shade adjustability for different processes
- Smaller sweet spot for comfortable viewing angle
- More head movement required
- Basic grind mode or none at all
- Components may wear faster under daily use
Mid-Range Helmets ($150-$350)
What You Get
- Improved auto-darkening with 3 sensors
- Wider shade range (typically 5-13)
- Better optical clarity (1/1/1/2 or better)
- Larger viewing area (9-11 sq. in.)
- Faster reaction time (around 0.1 ms)
- Enhanced comfort features and balance
- True grind mode
- 1-3 year warranty
Best For
- Serious hobbyists welding regularly
- Small shop owners
- Multi-process welding (MIG, stick, flux-core)
- Users welding 10-30 hours per month
- Those who alternate between welding and grinding
Sweet Spot
This range offers the best value for many users—significant improvements over budget options without premium pricing.
Premium Helmets ($350-$800+)
What You Get
- Advanced auto-darkening with 4+ sensors
- Fastest reaction times (0.03-0.08 ms)
- Exceptional optical clarity (1/1/1/1)
- Widest shade ranges (3-13 or broader)
- Maximum viewing area (12-15+ sq. in.)
- True-color technology for accurate metal and puddle color
- Superior ergonomics with memory foam and precise balance
- Extended adjustability (sensitivity, delay, shade selection)
- Durable shells with impact-resistant materials
- 3-7 year warranties
- Integrated breathing systems (some models)
Best For
- Professional welders working 40+ hours weekly
- TIG welding requiring precise puddle control
- Aluminum and stainless work where color perception matters
- Multi-process facilities
- Overhead or out-of-position welding
- Anyone whose livelihood depends on welding
Long-Term Value
While expensive upfront, premium helmets often cost less per year when factoring in:
- Reduced eye strain and fatigue
- Faster, more accurate work
- Longer lifespan (10+ years vs. 3-5 years)
- Better warranty coverage
- Fewer lens replacements needed
Special Considerations by Process
TIG Welding
Requires the lowest amperage ranges, widest shade adjustment, fastest reaction time, and best color accuracy. Premium helmets excel here.
MIG/GMAW
Benefits from larger viewing areas to track wire feeding and travel speed. Mid-range to premium helmets recommended.
Stick/SMAW
More forgiving process. Budget to mid-range helmets often sufficient unless welding full-time.
Flux-Core
Similar to MIG but produces more smoke and spatter. Consider helmets with excellent ventilation and easily replaceable lenses.
Plasma Cutting and Gouging
Requires special shade settings. Verify your helmet covers shade 12-14 for cutting.
How to Choose Your Helmet
1. Assess Your Usage
- Hours per week: Under 5 hours → budget; 5-20 hours → mid-range; 20+ hours → premium
- Process variety: Single process → budget/mid-range; multiple processes → mid-range/premium
- Material types: Mild steel only → any tier; stainless/aluminum → mid-range or better
2. Prioritize Your Must-Haves
Essential for everyone:
- Certified safety ratings (ANSI Z87.1+ or EN379)
- Adjustable headgear
- Adequate shade range for your process
- Reliable switching mechanism
Nice-to-haves you may want:
- True grind mode if you grind frequently
- Larger viewing area for complex work
- True-color optics for aesthetic welds
- External shade adjustment
- Magnifying lens compatibility
3. Test Fit When Possible
- Balance and weight distribution affect fatigue
- Headband adjustability for proper positioning
- Adequate room for prescription glasses if needed
- Comfortable padding contact points
4. Consider Your Environment
- Bright outdoor settings: Need high sensitivity and solar power reliability
- Dim shops: Verify adequate sensor performance in low light
- Dusty/dirty conditions: Look for sealed electronics and easy-clean surfaces
- Hot environments: Ensure battery system tolerates heat
5. Calculate Total Ownership Cost
Don’t just compare sticker prices. Consider:
- Replacement lens cost and frequency
- Battery replacement intervals and cost
- Warranty length and what it covers
- Expected lifespan based on build quality
- Your time savings from better visibility and comfort
Maintenance for Longevity
Daily Care
- Wipe sensors and lens with microfiber cloth
- Check auto-darkening function before welding
- Inspect for cracks or damage
- Remove spatter while still warm (carefully)
Weekly Care
- Clean entire lens assembly inside and out
- Check headband tension and adjustments
- Verify all sensors are unobstructed
Monthly Care
- Inspect padding and replace if compressed
- Test battery (strike an arc to verify darkening)
- Check for loose screws or components
- Clean air vents and channels
Storage
- Keep in protective bag or case
- Store away from extreme temperatures
- Avoid pressure on lens area
- Keep out of direct sunlight when not in use
When to Replace
- Lens scratches obstruct vision
- Auto-darkening becomes unreliable
- Physical damage to shell or sensors
- Headgear no longer maintains adjustment
- After any significant impact
Common Mistakes to Avoid
- Buying based on price alone: The cheapest option often costs more over time in replacements and reduced productivity
- Ignoring optical ratings: Poor optics cause eye strain and inaccurate work
- Overlooking fit: An uncomfortable helmet won’t get worn properly
- Skipping sensor count: Fewer sensors mean more blind spots
- Not testing auto-darkening: Always verify function before striking an arc
- Wrong shade range: Insufficient range limits what processes you can perform
- Neglecting maintenance: Even premium helmets fail without proper care
Top Features Worth Paying For
Based on user experience and professional feedback:
- Large viewing area: Reduces fatigue more than any other feature
- Fast reaction time: Critical for TIG and low-amperage work
- True grind mode: Essential if grinding is 25%+ of your work
- Four arc sensors: Significantly improves reliability
- Excellent optical clarity: Pays dividends in precision and reduced eye strain
- Adjustable sensitivity: Allows customization for different conditions
- Comfortable, adjustable headgear: Determines whether you’ll wear it properly all day
The Bottom Line
For occasional hobbyists: A quality budget helmet ($75-$150 with auto-darkening) provides safe, adequate performance without unnecessary features.
For regular hobbyists and part-time professionals: Mid-range helmets ($200-$300) offer the best value—dramatically better performance than budget options at a fraction of premium prices.
For full-time professionals: Premium helmets ($400+) are legitimate tools that pay for themselves through better visibility, less fatigue, and longer service life. The increased productivity and reduced eye strain justify the investment.
Remember: Your welding helmet is safety equipment first. Never compromise protection to save money. A proper helmet guards against arc eye, UV/IR radiation, impact, and spatter—hazards that can cause permanent damage. Buy the best helmet your budget allows within the appropriate category for your usage level.