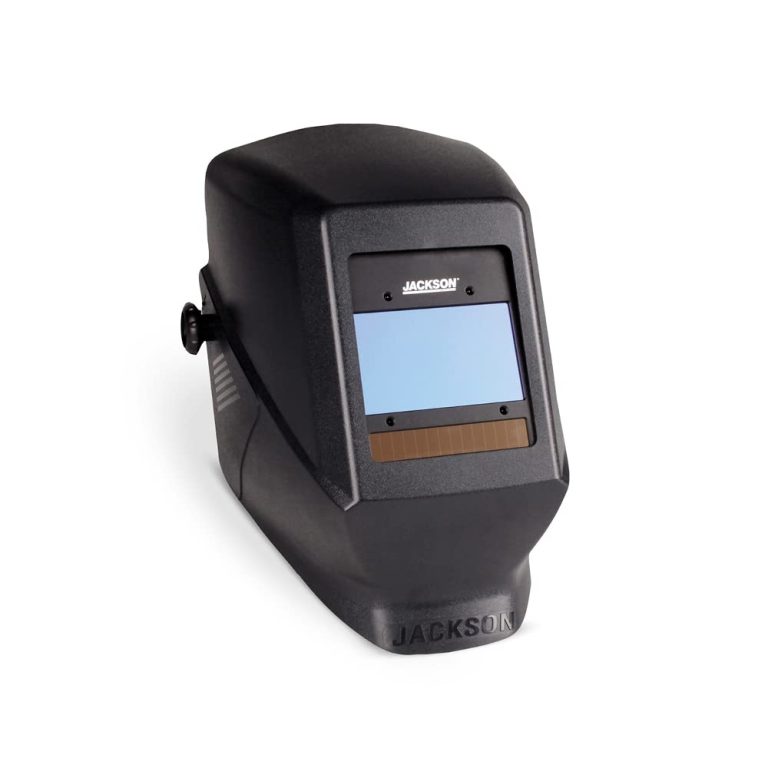

Your Complete Guide to Checking and Fitting Your Welding Helmet at Home
Last Updated: October 23, 2025 by Louis Sham
This guide will help you make sure your helmet is safe, comfortable, and ready to protect you. Don’t worry if you’re new to this—we’ll walk through everything step by step. Think of this as your regular helmet health check, not a replacement for professional inspections, but a way to stay safe between visits to the experts.
Part 1: Giving Your Helmet a Visual Check-Up
Let’s start by examining your helmet like a doctor would during a check-up. You’re looking for anything unusual or damaged.
What to Look For
The Outer Shell (the hard part on the outside)
- Run your hands gently over the entire surface
- Look for any cracks, even tiny ones—they’re like hairline fractures in a bone
- Check for deep dents or places where the shell looks warped or misshapen
- Even damage you can’t see from the inside can mean your helmet won’t protect you properly
The Foam Liner (the cushiony layer inside)
- Press firmly with your thumb in several spots around the inside
- The foam should bounce back and feel consistent everywhere
- If you find soft spots that stay pressed in, crumbling pieces, or areas that feel different from the rest, the foam may be damaged
- This foam is what absorbs impact, so it needs to be in good shape
The Comfort Padding (the soft, removable fabric pads)
- Look at all the fabric pads touching your head
- Check for pads that are squashed flat and won’t puff back up
- Look for any tears, worn spots, or signs of mold (especially if stored in damp places)
- If pads are just dirty, you can wash them (check if they’re removable first)
- If they’re worn out or feel uncomfortable, it’s time for new ones
The Straps and Buckles (what keeps it on your head)
- Examine all the straps for fraying (when the edges look fuzzy and threads are coming loose)
- Check if the webbing feels stretched out
- Make sure the chin buckle clicks closed securely and opens smoothly
- Test that it holds tight when fastened—give it a gentle tug
Overall Material Condition
- Helmets don’t like extreme heat, sun, or chemicals (like harsh cleaners)
- If the surface feels chalky, looks brittle, or shows cracking in the finish, the materials are breaking down
- This is your sign to start shopping for a new helmet
Part 2: Getting the Right Size and Fit
A helmet only works if it fits properly. Here’s how to make sure yours does.
Measuring Your Head (Yes, This Matters!)
- Grab a soft measuring tape (the kind used for sewing)
- Wrap it around the widest part of your head—that’s just above your ears and eyebrows
- Note the measurement in inches or centimeters
- Compare this number to the helmet’s size chart (usually on the box or manufacturer’s website)
- Choose the size closest to your measurement
Putting It On the Right Way
Think of your helmet as a protective hat—it needs to sit level, not tilted.
The Basics
- Place the helmet flat on your head (not tipped backward like a cap)
- The front edge should sit about 1-2 finger-widths above your eyebrows
- If you look up, you should see the front rim of the helmet in your vision
Covering Your Forehead Properly
- Your forehead should be mostly covered
- The helmet protects best when it’s covering the front of your head, not just the top
- Imagine drawing a horizontal line—the helmet should come down to cover your forehead evenly
Dialing In the Perfect Fit
Most modern helmets have adjustment systems to help them fit snugly. Here’s how to use them.
Using the Fit System (the dial or adjustment at the back)
- Find the dial, knob, or adjustment system at the back or bottom of your helmet
- Turn it or adjust it gradually until the helmet feels snug
- You want it secure but not giving you a headache
- Shake your head gently—the helmet should stay put
Getting the Straps Just Right
- The side straps should form a “V” shape that meets just below each ear
- If the straps are twisted, untwist them—they should lie flat
- Some helmets have additional straps; make sure these are positioned correctly too
The Two-Finger Test (This is Important!)
- Fasten your chin strap
- Try to slide two fingers between the strap and your chin
- The strap should be tight enough that your fingers barely fit, but not so tight you can’t get two fingers under it
- If it’s too loose, tighten it; if it’s too tight, loosen it a notch
Part 3: Testing That Your Helmet Stays Put
Now let’s make sure your helmet will stay in place when you need it most.
Simple Movement Tests
Side-to-Side and Up-Down Test
- Keep your chin strap fastened
- Turn your head left and right, then nod up and down
- The helmet should move with your head, not slide around on top of it
- If it slides more than a tiny bit, tighten your fit system or straps
The Push Test
- Place your palm on the front of the helmet and push gently backward
- Then place your hand on the back and push gently forward
- The helmet should resist and stay mostly in place
- If it slides easily, you need to adjust the fit
The Tilt Check
- Look at yourself in a mirror (or take a selfie)
- The helmet should sit level, not tilting to one side or riding up in the back
- If it’s crooked, try repositioning it and re-adjusting the fit system
Part 4: Fine-Tuning for Your Activities
Different activities might need slightly different adjustments.
Adjusting for Your Specific Needs
For Helmets with Dial Systems
- After any adjustment, re-check the dial to make sure pressure is even all around your head
- Make small tweaks rather than big changes
- Test after each adjustment to avoid creating pressure points
If You Wear Goggles, Glasses, or Face Shields
- Put on all your gear together
- Make sure the helmet still fits snugly and sits level
- The helmet might sit slightly different with goggles or glasses on
- Check that padding isn’t getting compressed in weird ways
If Multiple People Use This Helmet (though personal helmets are always better)
- Each person needs to completely re-adjust the fit every single time
- Head sizes and shapes vary a lot
- Never assume “one setting fits all”—it doesn’t
Part 5: Keeping Your Helmet Clean and Happy
A little regular care goes a long way.
Basic Cleaning
The Shell
- Wipe the outside with a damp cloth and a small amount of mild soap
- Avoid harsh chemicals—they can damage the materials
- Dry with a soft towel
The Pads
- Check if your pads are removable (most modern helmets have removable pads)
- Hand wash them with mild soap and cool water
- Let them air dry completely before putting them back in
- Never use a dryer or heater—the heat can damage the materials
Proper Storage
- Keep your helmet in a cool, dry place
- Avoid direct sunlight (UV rays break down materials over time)
- Don’t leave it in a hot car—heat damages the protective foam
- Keep it away from chemical fumes (garage storage, cleaning supplies)
- Store it where it won’t get knocked around or crushed
When to Replace Parts
Padding Replacement
- If pads are worn flat and don’t bounce back, get new ones
- If they’re uncomfortable or no longer provide a snug fit, replace them
- Most manufacturers sell replacement pad sets
Part 6: Knowing When to Say Goodbye to Your Helmet
Sometimes, helmets need to retire. Here’s when.
Replace Your Helmet Immediately If:
After Any Significant Impact
- Dropped from height
- Involved in a crash or fall
- Hit by something heavy
- Even if you don’t see damage, the foam inside may be crushed and won’t protect you next time
- This is non-negotiable—the helmet did its job, now it’s done
You See Visible Damage
- Cracks in the shell
- Dents that don’t pop back out
- Foam that’s compressed, crumbling, or degraded
- Compromised straps or buckles that can’t be replaced
Replace Your Helmet Based on Age:
General Guidelines
- Most manufacturers recommend replacing helmets every 3-5 years
- Check the manufacturer’s specific guidance (often printed inside or in the manual)
- Heat, sweat, UV exposure, and time all break down materials
- Even a well-stored, unused helmet ages and becomes less protective
For Heavy or Frequent Use
- If you ride daily or in harsh conditions (extreme heat, cold, rough terrain)
- If your helmet gets sweaty regularly
- If it’s exposed to lots of sun
- Consider replacing more frequently—maybe every 2-3 years
Part 7: What to Do If You Find Problems
Small Issues—Quick Fixes
- Fit feels off: Try re-seating the helmet, adjusting straps, or replacing pads
- Dirty pads: Remove and wash them, let dry completely
- Strap twisted: Untwist and reposition properly
Bigger Issues—Component Replacement
- Damaged strap or buckle: Order replacement parts from the manufacturer
- Worn padding: Buy a replacement pad set
- Visor damaged: Replace just the visor if possible
When You’re Not Sure—Ask for Help!
If you’re uncertain about:
- Whether damage is serious
- If the helmet is still protective after a drop
- How to properly adjust something
- Whether it’s time to replace
Contact:
- The helmet manufacturer (customer service or website)
- A local bike shop or helmet retailer
- A professional fitting specialist
Better to ask than to risk your safety!
Your Quick Reference Checklist
Use this for regular checks:
✓ Visual Check
- [ ] Shell: No cracks, dents, or warping
- [ ] Foam: Firm and consistent, no soft spots
- [ ] Padding: Clean, intact, comfortable
- [ ] Straps: No fraying, buckle works properly
- [ ] Materials: No chalky, brittle, or cracked surfaces
✓ Fit Check
- [ ] Helmet sits level on head
- [ ] Front edge 1-2 finger-widths above eyebrows
- [ ] Snug but comfortable
- [ ] Straps form “V” under ears
- [ ] Two-finger chin strap test passes
✓ Stability Check
- [ ] Stays in place when shaking head
- [ ] Resists front/back push
- [ ] Doesn’t tilt to sides
✓ Maintenance Check
- [ ] Clean and dry
- [ ] Stored properly (cool, dry, away from sun)
- [ ] No heat exposure
✓ Replacement Check
- [ ] No crashes since last check
- [ ] No visible damage
- [ ] Within manufacturer’s age recommendation
- [ ] Still provides proper fit
Final Thoughts
Think of these home checks as brushing your teeth—a simple habit that prevents bigger problems. You’re not trying to be a helmet inspector or replace professional testing, but you can definitely spot issues before they become safety problems.
Remember:
- Check your helmet regularly (monthly is great, or before any big ride)
- When in doubt, ask an expert
- Replace after any significant impact—no exceptions
- Your helmet is your brain’s best friend—treat it well!
Stay safe out there! 🚴♂️
This guide is for general education and does not replace manufacturer instructions or professional helmet fitting services. Always follow your specific helmet manufacturer’s guidelines and consult professionals when uncertain about safety.