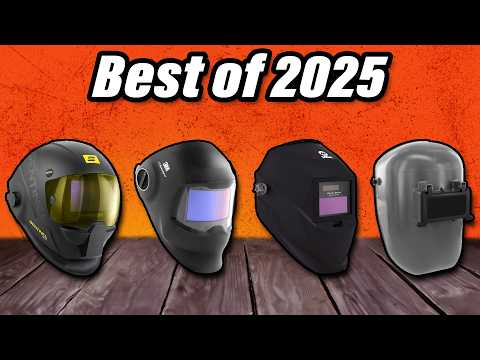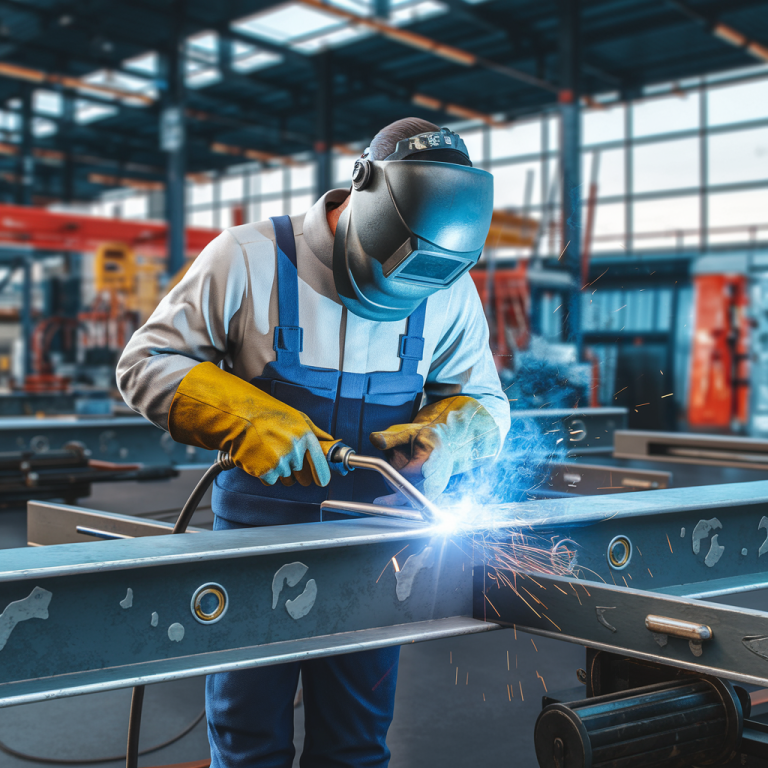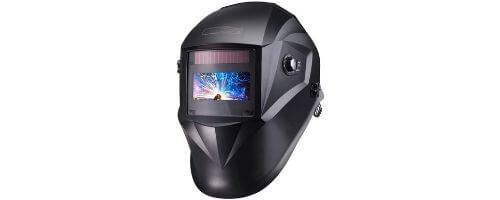
Auto-darkening vs passive helmets: which is best for you
Last Updated: October 23, 2025 by Louis Sham
Choosing between auto-darkening and passive welding helmets is a common dilemma for welders. Your choice affects safety, comfort, and how much work you can get done in a day. Below is a practical overview to help you decide which type fits you best and why.
What auto-darkening helmets do
– Auto-darkening helmets have a liquid crystal display (LCD) lens that automatically shades the visor when the welding arc starts. When there’s no arc, the lens is relatively clear so you can see your work and position the torch.
– Most auto-darkening helmets offer a variable shade range (commonly around shade 9 to 13, with some models going beyond). This lets you adapt to different processes and amperages without swapping helmets.
– They include sensors to detect the arc, plus controls for sensitivity (how easily they respond to ambient light or spark), delay (how long the shade stays dark after the arc stops), and sometimes grind mode (to keep the lens light enough for grinding).
– They’re designed to be multi-process friendly (MIG, TIG, MMA/stick, plasma cutting) and often come with a larger viewing area and sometimes true-color or enhanced contrast features.
What passive helmets do
– Passive (fixed shade) helmets use a single, fixed-shade glass or plastic lens. You flip the shade down or move a flip-up shield into place, and the shade does not change during welding.
– They’re simple, robust, and don’t rely on any electrical components. There are no batteries to fail, and the helmet is usually lighter or at least simpler in construction.
– If your welding is consistent in process, current, and environment, a passive helmet can be perfectly adequate.
Pros and cons at a glance
Auto-darkening helmets
– Pros:
– Instant arc protection without pausing to lower a shield mid-task
– Greater visibility when not welding, thanks to a clear or lightly tinted idle lens
– Wide shade range supports multiple processes and amperages
– Grinding mode helps you switch between welding and grinding without changing helmets
– Reduced neck movement and less time spent flipping shields
– Cons:
– Higher upfront cost and ongoing battery/solar maintenance
– More potential points of failure (sensors, electronics, battery)
– Heavier than some passive models and can be more delicate
– Lamps and lenses can scratch or haze over time, affecting clarity
Passive helmets
– Pros:
– Simple, rugged, and usually cheaper
– No electronic components to fail; no battery or solar concerns
– Often lighter and easier to clean
– Quick to learn for beginners
– Cons:
– You must manually lift or flip the shield between welding and grinding
– Limited to a single shade; not ideal for switching between processes or changing amperage
– Less visibility and situational awareness when not actively welding
– Not as comfortable for long sessions that require frequent process changes
Who should consider auto-darkening helmets
– You work across multiple processes (MIG, TIG, MMA) and need quick transitions between them
– You frequently switch between welding and grinding and want a seamless workflow
– You value eye protection and visibility during setup and non-welding tasks
– You want features like adjustable sensitivity and delay to tailor performance to your environment
– You’re okay with a higher upfront cost and ongoing maintenance
Who should consider passive helmets
– You mostly do one process with consistent amperage and environment, and you want a budget-friendly option
– You prioritize rugged simplicity and minimal maintenance
– You rarely switch between welding and grinding, or you already have a dedicated grinding shield
– You value a lighter, possibly more durable feel and don’t need rapid arc-detection features
Key considerations when choosing
– Processes and amperage: For TIG at low to moderate amps and frequent process changes, auto-darkening is often advantageous. For steady, high-amp MIG or stick work with a fixed shade that fits your typical current, passive can work well.
– Shade range: Look for a helmet that offers a suitable shade range for your common processes (for most welding, shade 9–13 covers MIG, TIG, and MMA; check if you need lower or higher for plasma cutting or certain sources).
– Sensitivity and delay controls: If you choose auto-darkening, adjustable sensitivity helps with ambient light and worker habits, while delay helps prevent flicker when stopping.
– Viewing area and lens quality: A larger viewing area improves visibility and accuracy, but it can also make the helmet bigger. Some lenses offer true-color or enhanced contrast—consider whether that matters to you.
– Comfort and fit: Headband comfort, weight distribution, and balance affect long shifts. Try on different models if possible.
– Standards and safety: Ensure the helmet meets relevant standards (for example, ANSI Z87.1 in the United States or other regional equivalents) and has appropriate shade protection for your processes.
– Maintenance: Auto-darkening lenses can scratch or degrade over time; cleaning with a soft cloth and keeping sensors clear is essential. Passive lenses require less maintenance but still need cleaning and occasional lens replacement if scratched.
A simple decision guide
– If you value maximum flexibility and workflow speed across multiple processes and you don’t mind paying more, choose an auto-darkening helmet.
– If you want a straightforward, low-maintenance, budget-friendly option and you mostly stick to one process, a passive helmet can be a smart choice.
– If you frequently switch between welding and grinding, or you want less glare and better visibility when preparing joints, auto-darkening is generally the better fit.
– If you’re new to welding and want a very simple setup to learn with, a passive helmet is often easier to start with, though many beginners later upgrade to auto-darkening for the benefits.
Care and maintenance tips
– For auto-darkening helmets: regularly inspect the lens for scratches, test the sensitivity and delay settings, replace batteries or check solar cells as needed, and keep sensors clean from dust or grease.
– For passive helmets: keep the lens clean and scratch-free, store in a protective case, and replace the shade lens when it becomes damaged or if you need a different shade for another process.
– Always verify the helmet’s fit and strap condition before each use to ensure it stays in place during welding.
Bottom line
Your best helmet choice depends on how you weld, how much you value convenience versus simplicity, and your budget. Auto-darkening helmets offer greater flexibility, faster transitions, and potentially less eye strain, especially for multi-process work. Passive helmets provide reliability, simplicity, and cost savings, making them a solid option for beginners or those who perform a consistent set of tasks. Weigh your typical tasks, comfort needs, and risk tolerance, and you’ll pick the helmet that keeps you safe and productive at the bench.